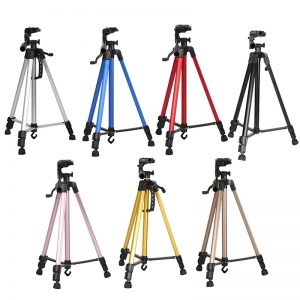
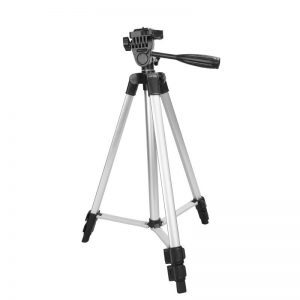
First, rotate the projection pole into the bracket base until it is tightened and there is no shaking; || Install the gimbal on the other end of the projection pole, and also tighten it without shaking; ||Align the screw interface of the projector with the projection bracket. Nut, fix the projector to the bracket in a clockwise direction.
Projection bracket installation steps (take the floor stand as an example)
1. First, complete the two-section telescopic assembly;
2. Rotate the telescopic rod of the support into the base of the support until it is tightened and there is no shaking;
3. Install the pan/tilt on the other end of the telescopic rod, and also tighten it without shaking;
4. Finally, align the screw interface of the projector with the nut of the projection bracket pan/tilt, and fix the projector to the bracket in a clockwise direction.
Note: The projector bracket is mainly divided into three types: floor, desktop, and wall-mounted. The most important operation step is to connect the screw hole of the projector to the bracket, and then adjust the height and position of the bracket.


