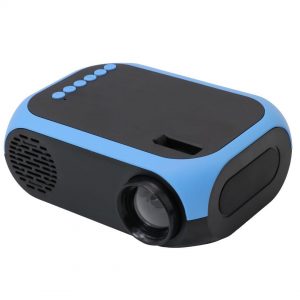
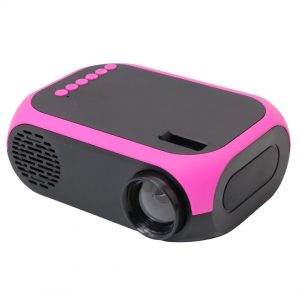
The entire process of cleaning the dust inside the projector is very complicated, with many steps, and requires carefulness and patience. The internal device of the projector still has a certain degree of complexity. The following mainly tells you about the cleaning of the light system of the projector and the cleaning of the inner wall of the projector.
Opto-mechanical system cleaning
The optical machine is an important part of the entire projector. Today I will introduce the optical machine system of DLP technology. The DLP optical engine adopts a fully sealed design. The projection chip is sealed inside the machine, so it is very simple to clean. Users only need to pay attention to cleaning the optical engine heat sink, DMD chip and lens. The DMD chip is a circuit board located in the light. The rear of the machine can be removed and cleaned with a soft brush and a hair dryer. The heat sink is generally made of several layers of high thermal conductivity aluminum metal sheets, so if you want it to be completely clean, you must rely on the strong airflow of a large fan.
On the right side of the optical machine lens, there is a colorful disc. This is the projection color wheel, which is one of the important optical devices of the DLP optical machine. The color wheel is composed of a fully transparent wafer and requires a good light transmission type. Therefore, once dust accumulates on the color wheel, it will cause problems such as dark color and reduced brightness of the projected image. When cleaning the color wheel, the user must pay attention to the action must be light, try to use the blower used to clean the lens, but also pay attention to avoid the impact of strong airflow on the color wheel, so as not to cause the color wheel to deform, not to use contact cleaning methods.
Cleaning the inner wall of the projector
After removing the motherboard, bulb, L-shaped bulb wind tunnel, optical machine and various brackets, there is only an empty shell inside the projector, but you will find that the inside of the shell is heavily dusty. The place (the red arrow is the part that is easy to accumulate dust inside the projector), especially the amount of dust in the air inlet and outlet, component brackets, etc. is several times that of other parts. Users can use all the cleaning tools prepared here. Carry out a general cleaning, use a hair dryer where the brush can’t be brushed, and use a large fan if the hair dryer can’t blow it off. After some efforts, I believe that all the dust inside the projector has been driven away. After the cleaning work is completed, you can install each part of the projector in order. Pay attention to tighten the fixing screws during the installation process, especially the screws of the fan system, to avoid unnecessary losses due to the screws falling off.
In addition to the above two points, there are many aspects to the cleaning of the projector’s interior. Self-cleaning will also play a role in cleaning the projector, but if you don’t understand the internal device of the projector, or if you don’t know how to disassemble and assemble, you should find a professional person to avoid major damage to the projector.


